32 IKEA IVAR Hacks That Make Storage Actually Look Beautiful

I ignored the IVAR shelving unit for years because, in its raw pine box form, it looks exactly like what it is — a cheap, unfinished shelf you’d stick in a garage.
Then my friend Nora stained one a deep walnut, added brass hardware, and fit it into her living room, and I didn’t recognize it as the same $60 shelf until she told me.
That one unit changed how I think about “budget furniture” entirely.
IVAR’s whole appeal is that it’s unfinished raw pine — which sounds like a limitation until you realize it means you can stain it, paint it, add doors, build it into a wall, or leave it bare and just seal it, and it’ll genuinely look like a piece you paid five times as much for.
These 32 hacks cover every finish style and every room I’ve actually tried IVAR in, from a studio apartment pantry to a full built-in media wall.
Nora’s the one who talked me into my first IVAR project after years of being intimidated by raw wood furniture, so her notes on finishes and mistakes to avoid are scattered through this list.
Stained & Finished Wood Looks
The single biggest transformation for IVAR starts here — a good stain turns the raw pine into something that looks like real, intentional furniture.
1. Deep Walnut Stain with Brass Pulls
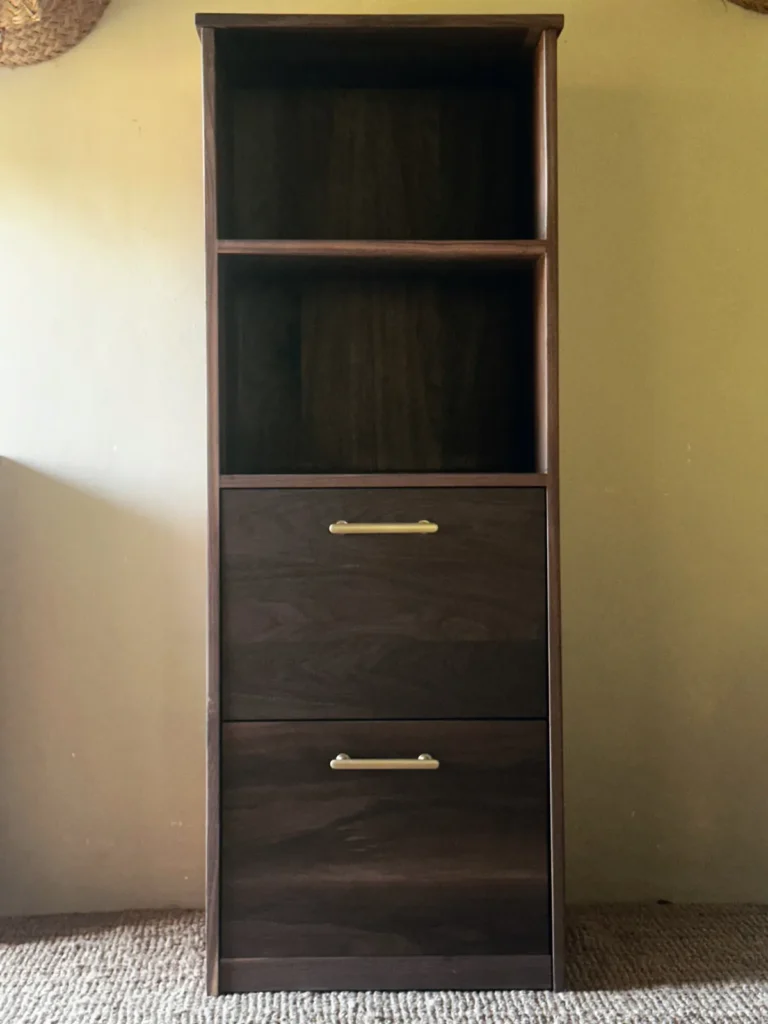
A rich walnut stain over the raw pine, finished with brass or antique-brass hardware on any added doors or drawers, is the single most requested IVAR hack I see — it reads as mid-century, expensive, and nothing like the shelf it started as.
2. Whitewash for a Coastal or Scandinavian Look
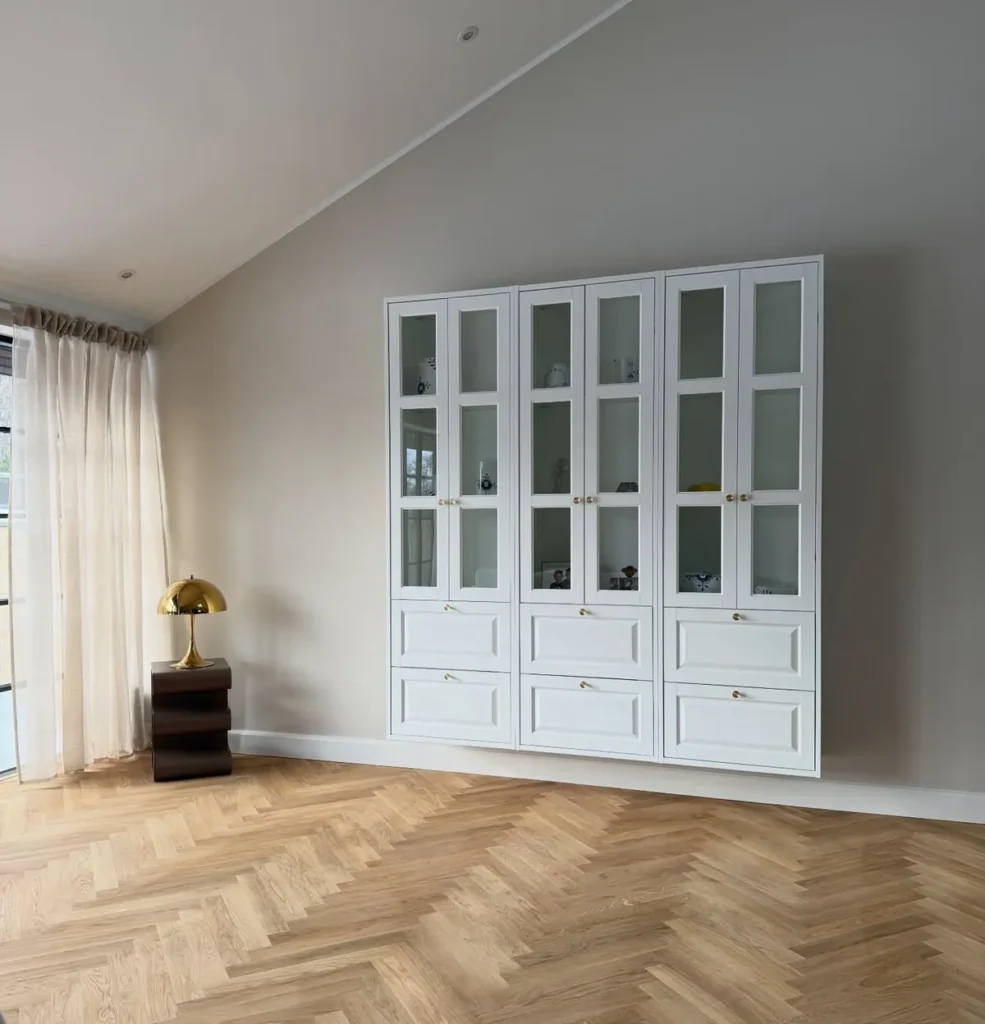
A diluted white wash, rather than a solid paint, lets the wood grain show through while lightening the overall tone — this is the move if your space leans more Scandinavian-minimal than warm and rustic.
3. Ebonized Black Stain
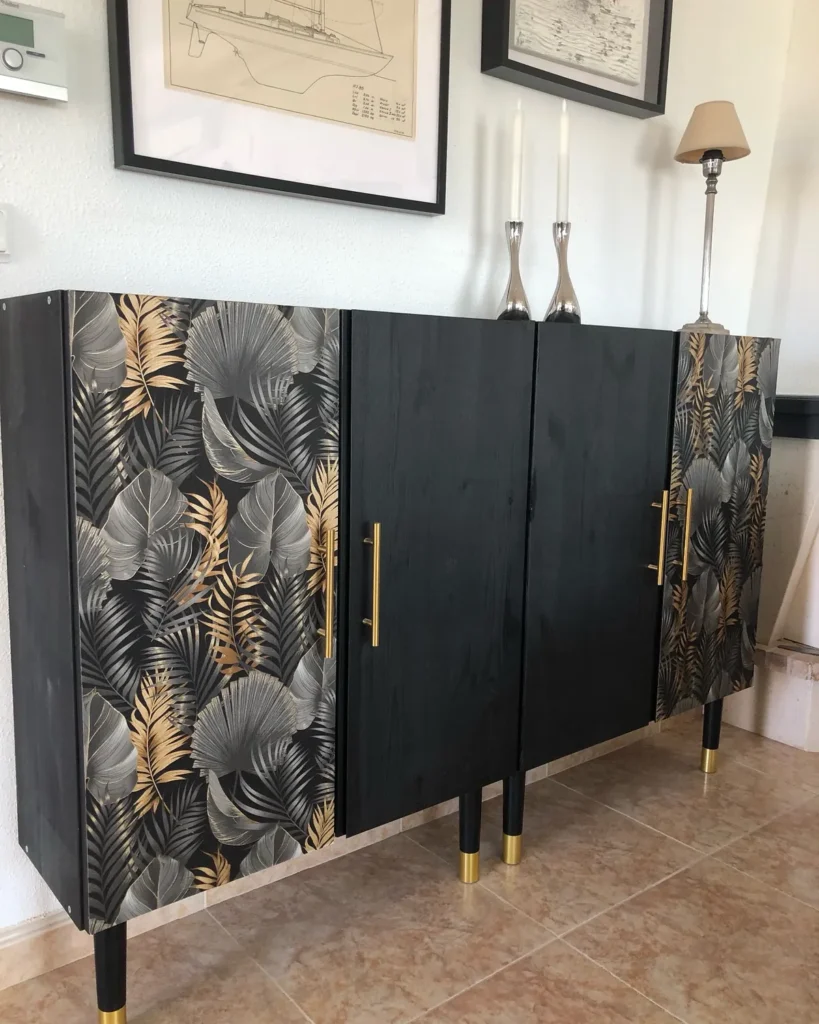
A black or near-black stain (rather than paint, which hides the grain entirely) gives IVAR a dramatic, modern look that works surprisingly well as a bold statement piece against a lighter wall.
4. Honey Oak Stain to Match Existing Floors
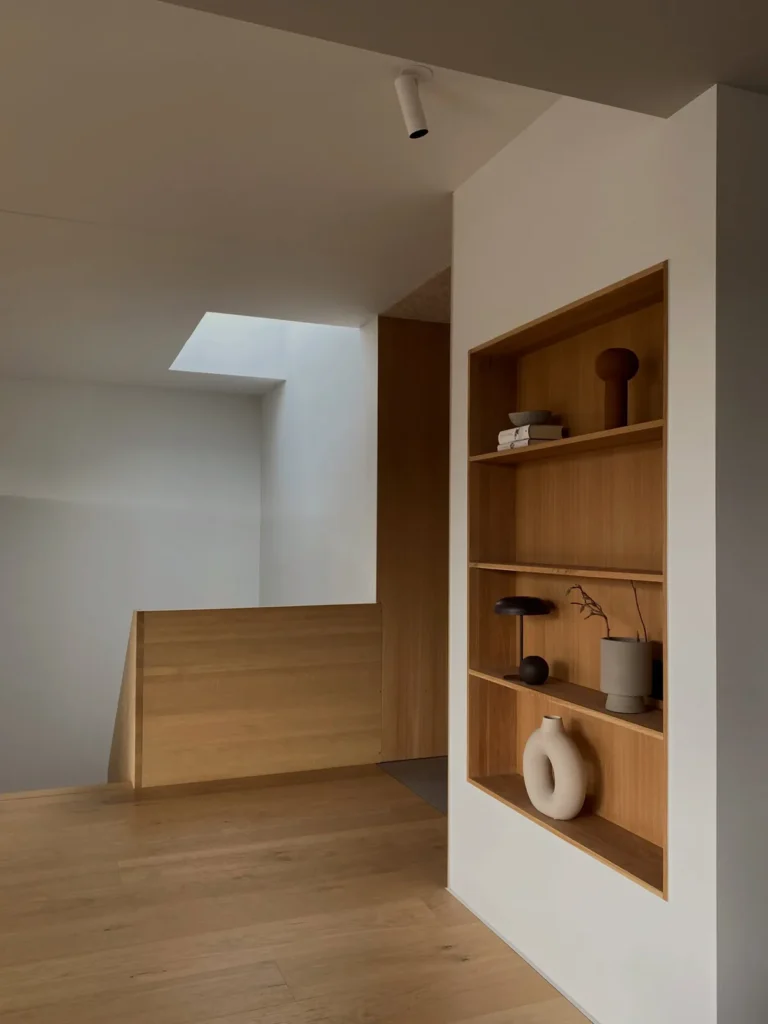
Matching the stain color to your existing hardwood floors is the single easiest way to make a piece of furniture look built-in and intentional rather than added on, and IVAR’s raw pine takes stain evenly enough to get a close match.
5. Two-Tone Stain (Dark Frame, Light Shelves)
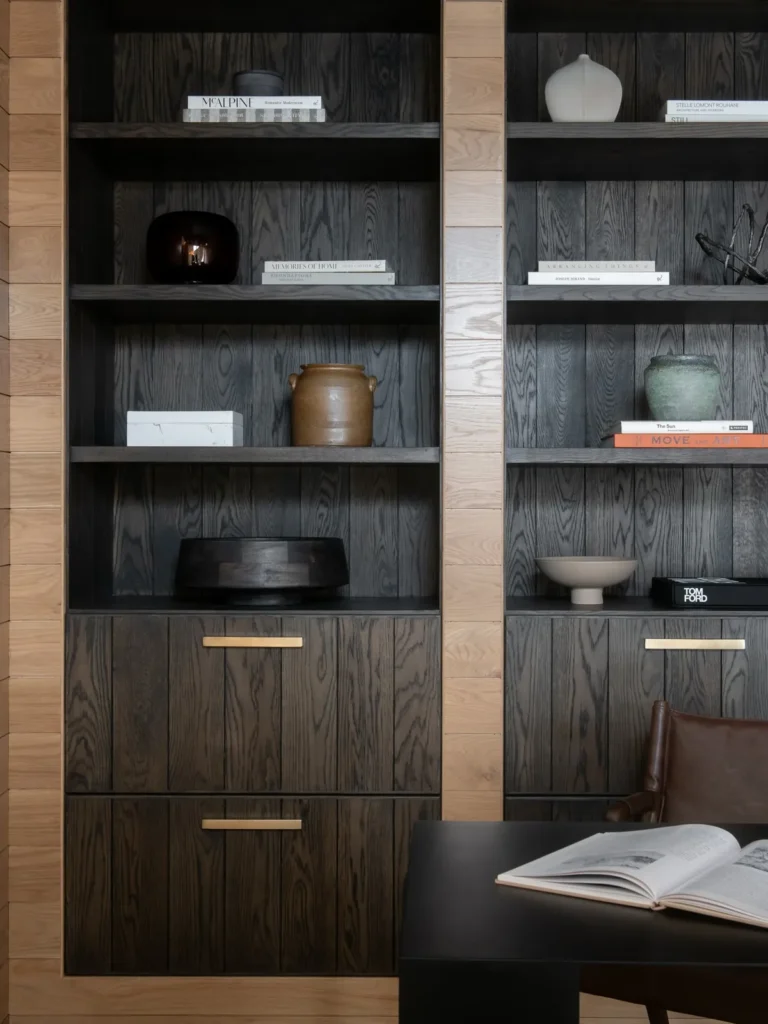
Staining the frame a dark walnut and leaving the shelves themselves a lighter natural or whitewashed tone creates visual depth and makes the whole piece look more custom than a single flat stain color does.
Painted Finishes
6. Sage Green for a Soft, Organic Look
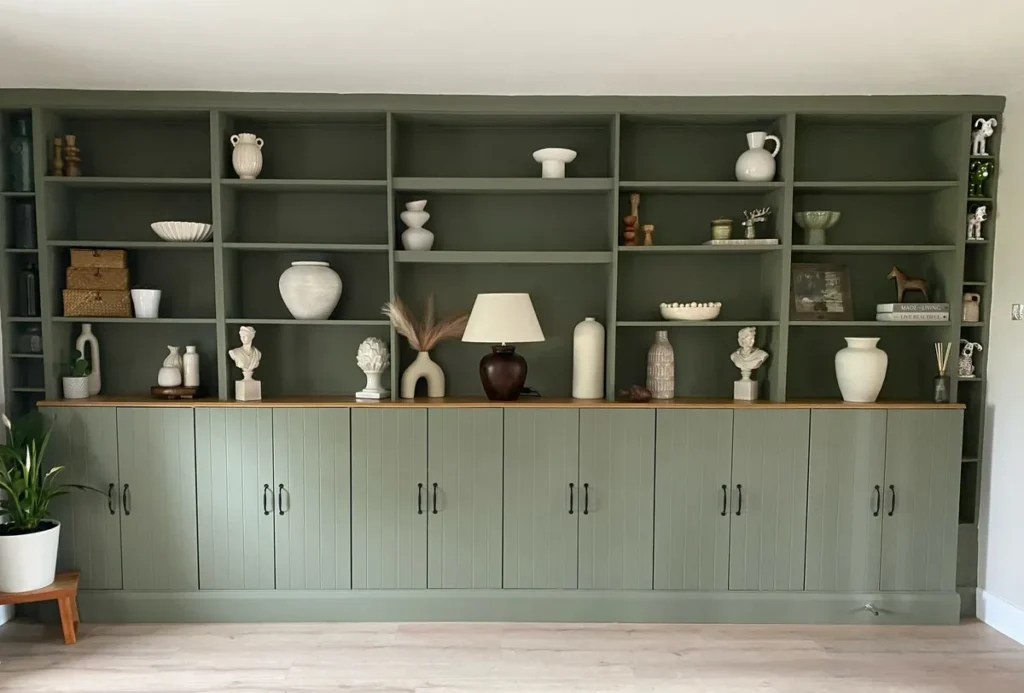
A muted sage or olive green paint over IVAR gives it a soft, garden-adjacent feel that works especially well in a kitchen or sunroom setting for displaying plants or ceramics.
7. Glossy Black Lacquer for a Bold Statement
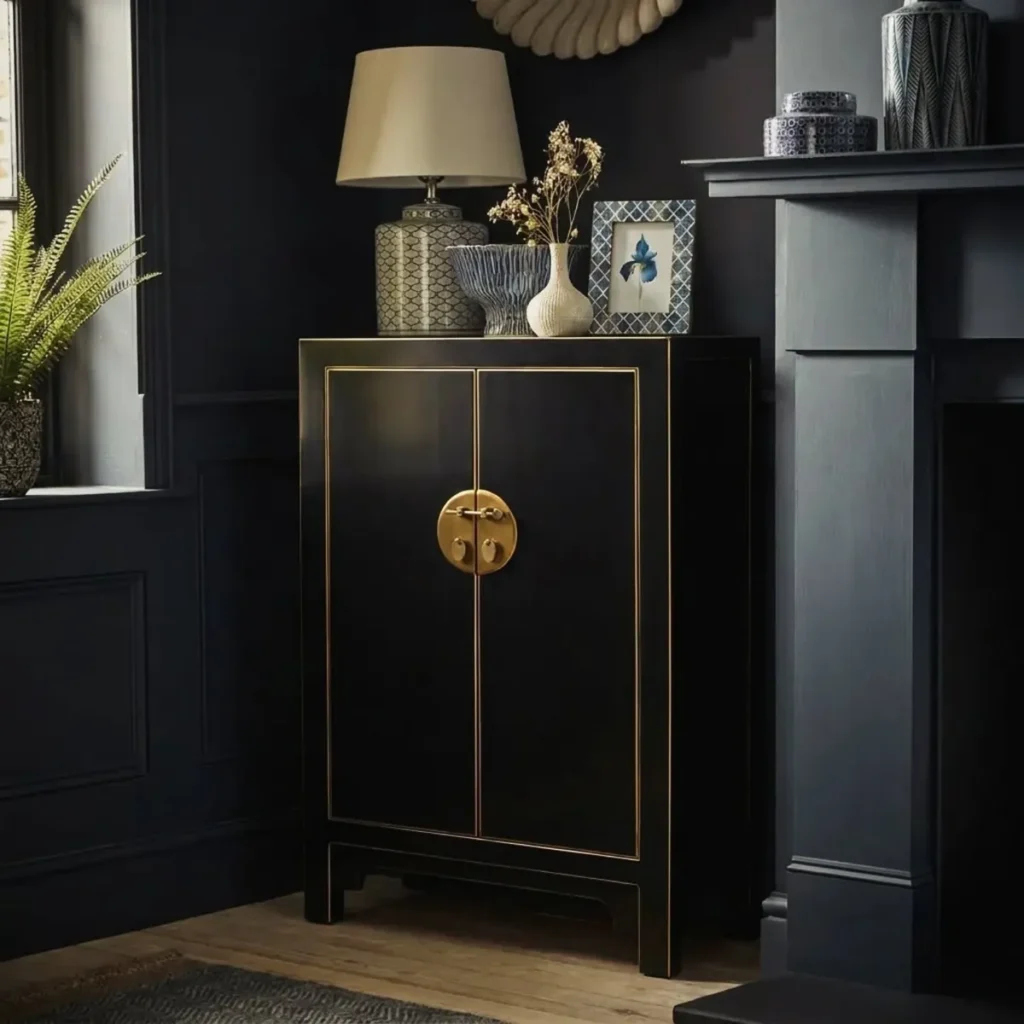
Instead of a matte stain, a true glossy black paint turns IVAR into a dramatic, almost jewelry-box-like piece — best in a room where it’s meant to be the focal point rather than blend in.
8. Terracotta or Rust for a Warm Accent Piece
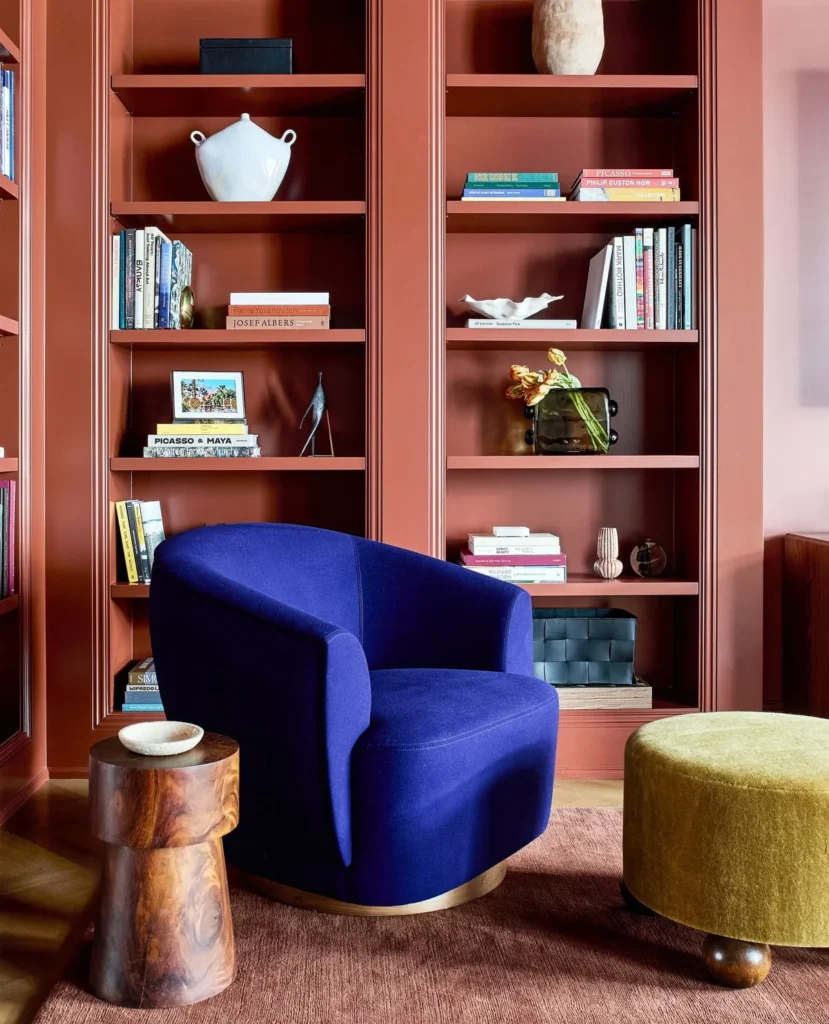
A warm terracotta paint is a less common choice but photographs beautifully against a cream or sage wall, and it pairs especially well with woven baskets and natural fiber decor on the shelves themselves.
9. Two-Tone Paint, Interior vs. Exterior
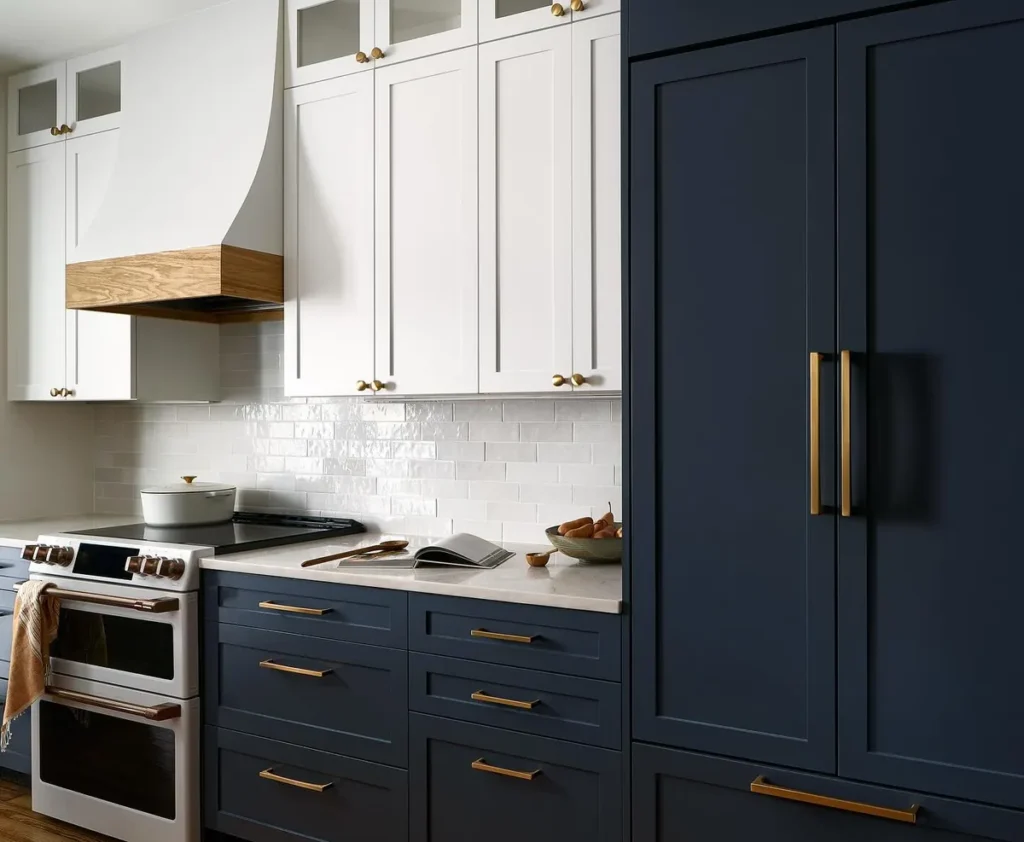
Painting the outer frame one color and the inside back panel (if you’ve added one) a contrasting color gives a “designed,” almost cabinetry-like look even on an open shelf with no doors.
10. Chalky Matte White for a French Country Feel
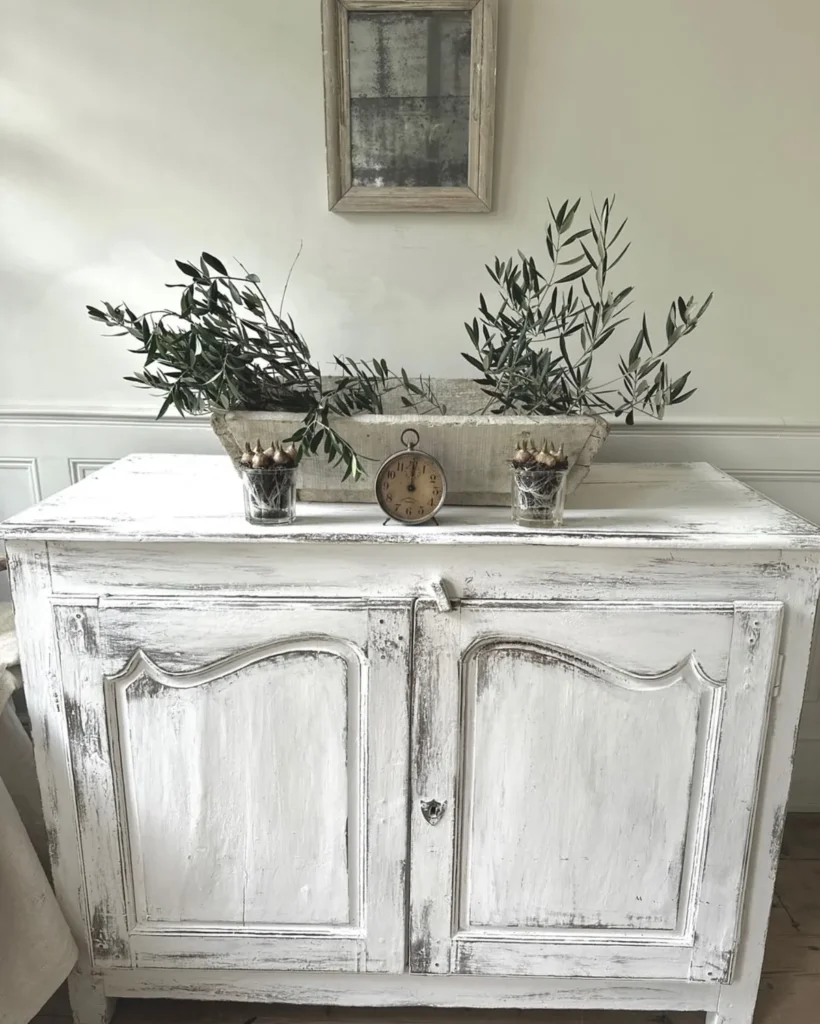
A chalk-style matte white paint, slightly distressed at the edges with light sanding, gives IVAR a worn, French-country character that pairs well with vintage baskets and ceramic pieces.
Adding Doors & Closed Storage
Open shelving looks great styled, but closed storage is where IVAR becomes genuinely practical for hiding clutter.
11. Shaker-Style Cabinet Doors
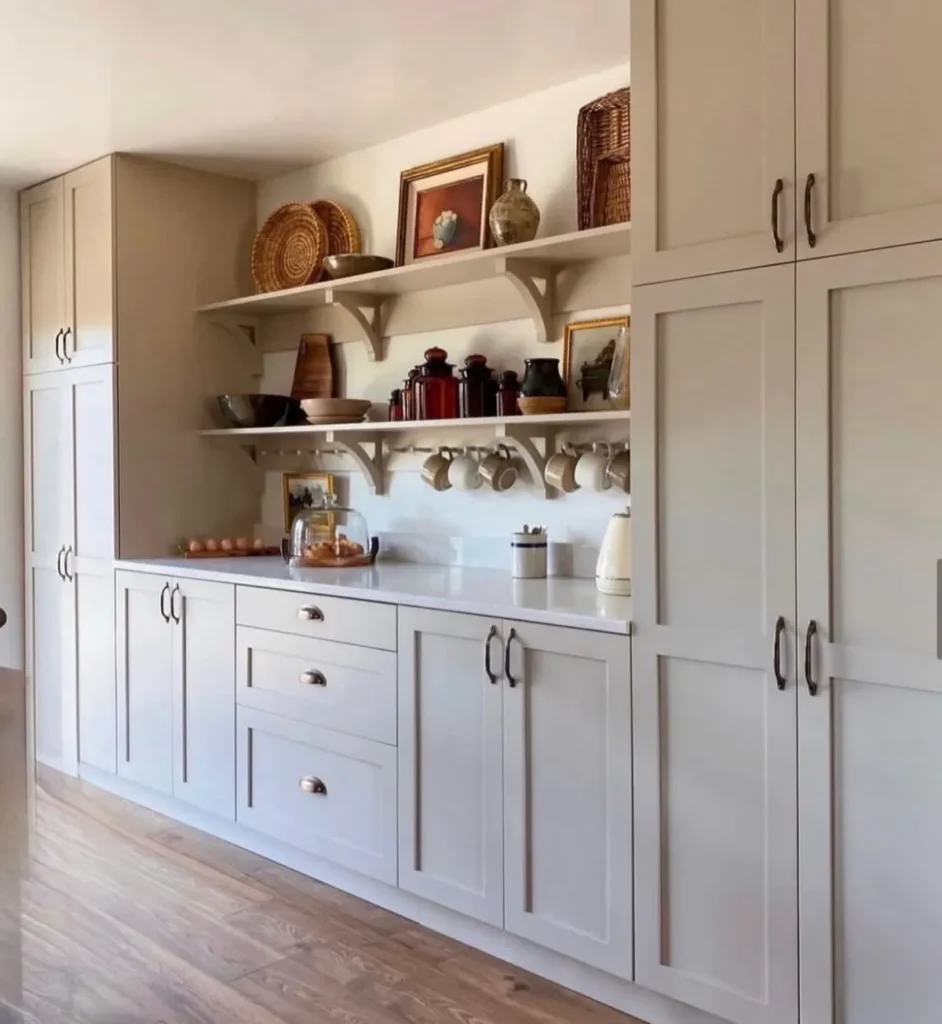
Adding simple shaker-panel doors to the lower section of an IVAR unit turns it into a proper cabinet for hiding less photogenic storage — shoes, electronics, pantry overflow — while keeping the top shelves open for display.
12. Caned or Rattan Door Inserts
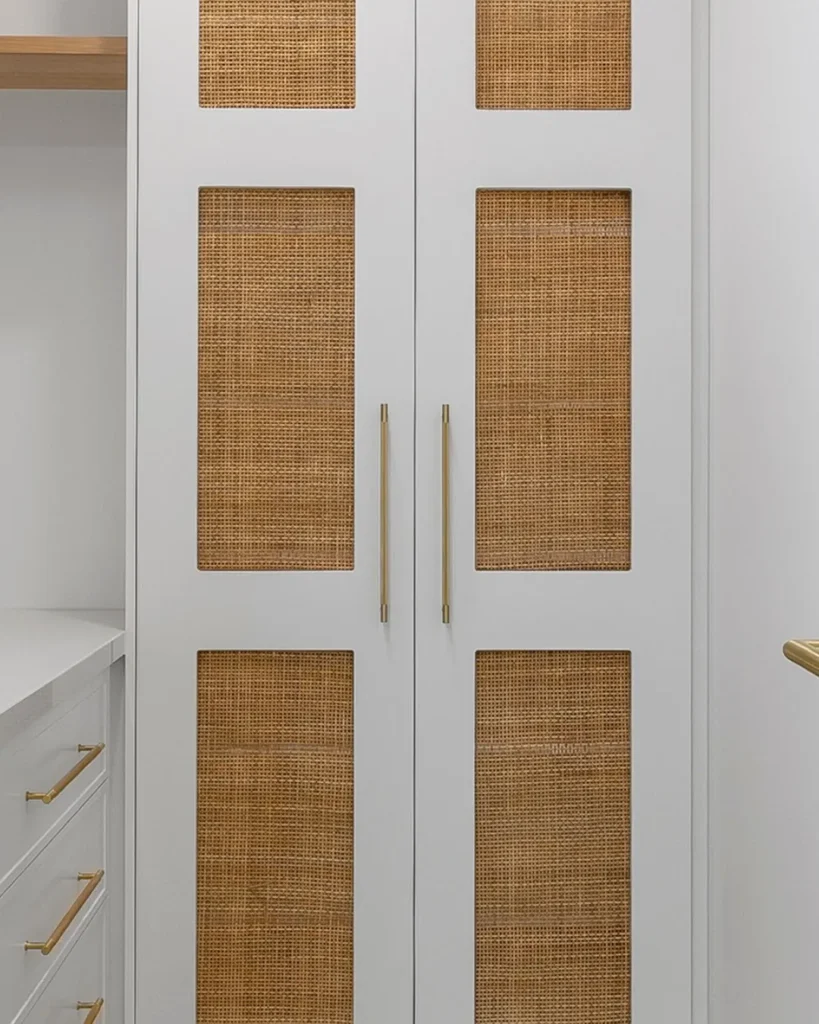
Swapping a solid door panel for one with a caning or rattan insert lets air circulate (genuinely useful for a pantry) while adding texture and a warmer, more organic look than a plain solid door.
13. Fabric Curtain Doors Instead of Hinged Doors
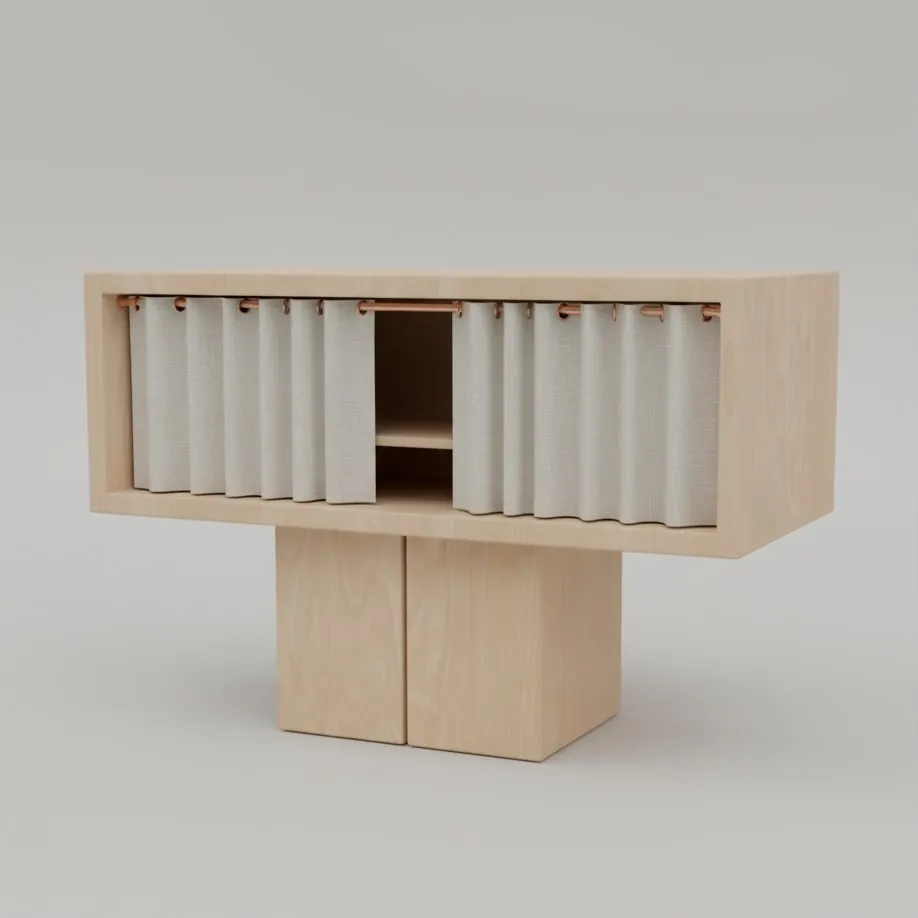
A simple fabric curtain on a tension rod, hung across the lower shelves, is the lowest-cost way to hide clutter without any carpentry — Nora used this trick in her first apartment before she owned any power tools.
14. Frosted Glass Panel Doors
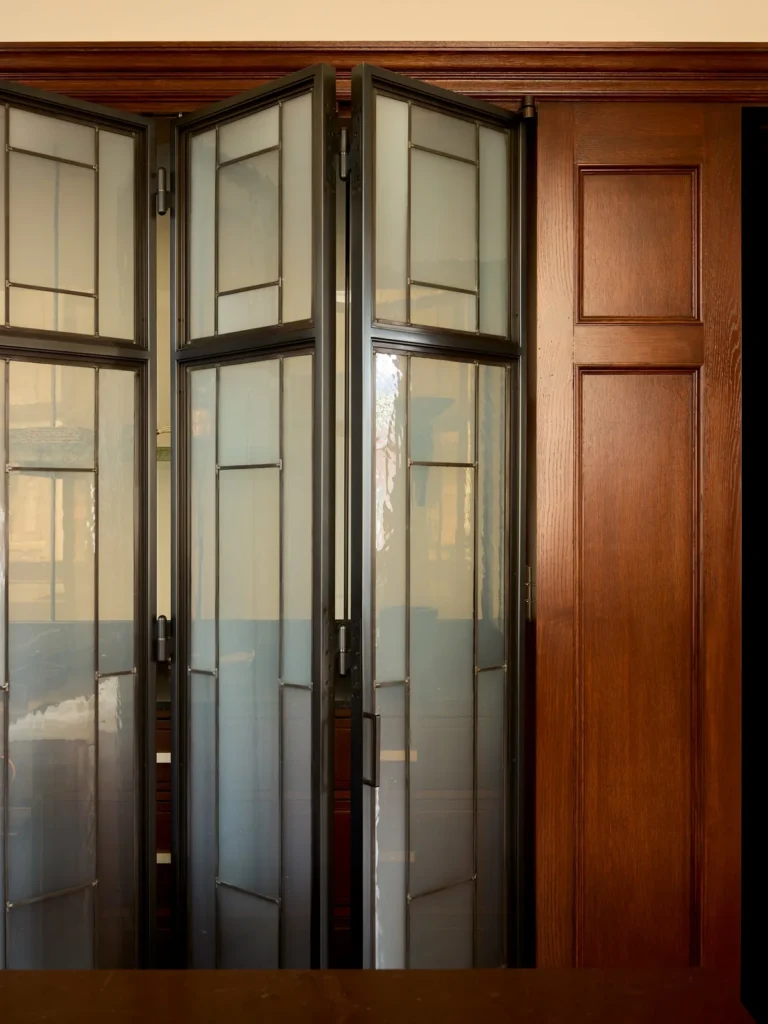
Frosted or reeded glass inserts let you see shapes and colors through the door without fully exposing the contents — a nice middle ground between fully open and fully closed storage.
15. Mesh Wire Door Fronts for a Pantry Look
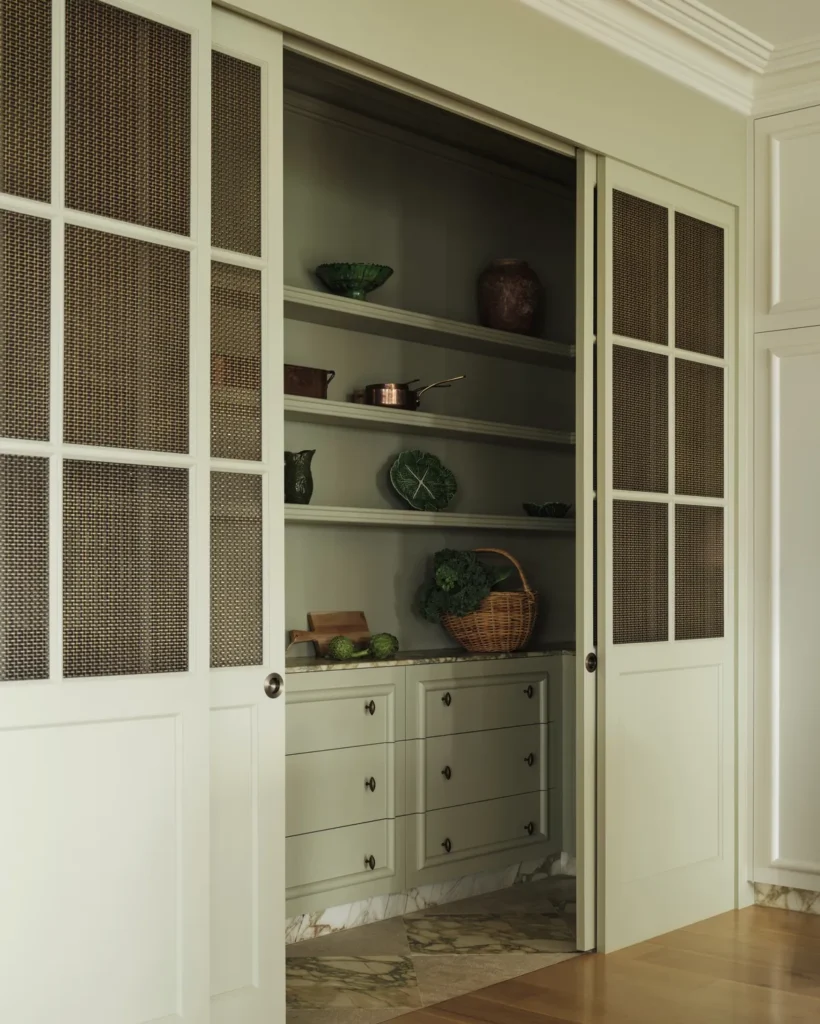
A wire mesh insert gives an old farmhouse pantry-cabinet look and works especially well if you’re using the unit to store pantry goods, since it keeps things slightly visible for quick inventory checks.
Built-In & Wall-to-Wall Looks
16. Multiple IVAR Units Side by Side for a Built-In Wall
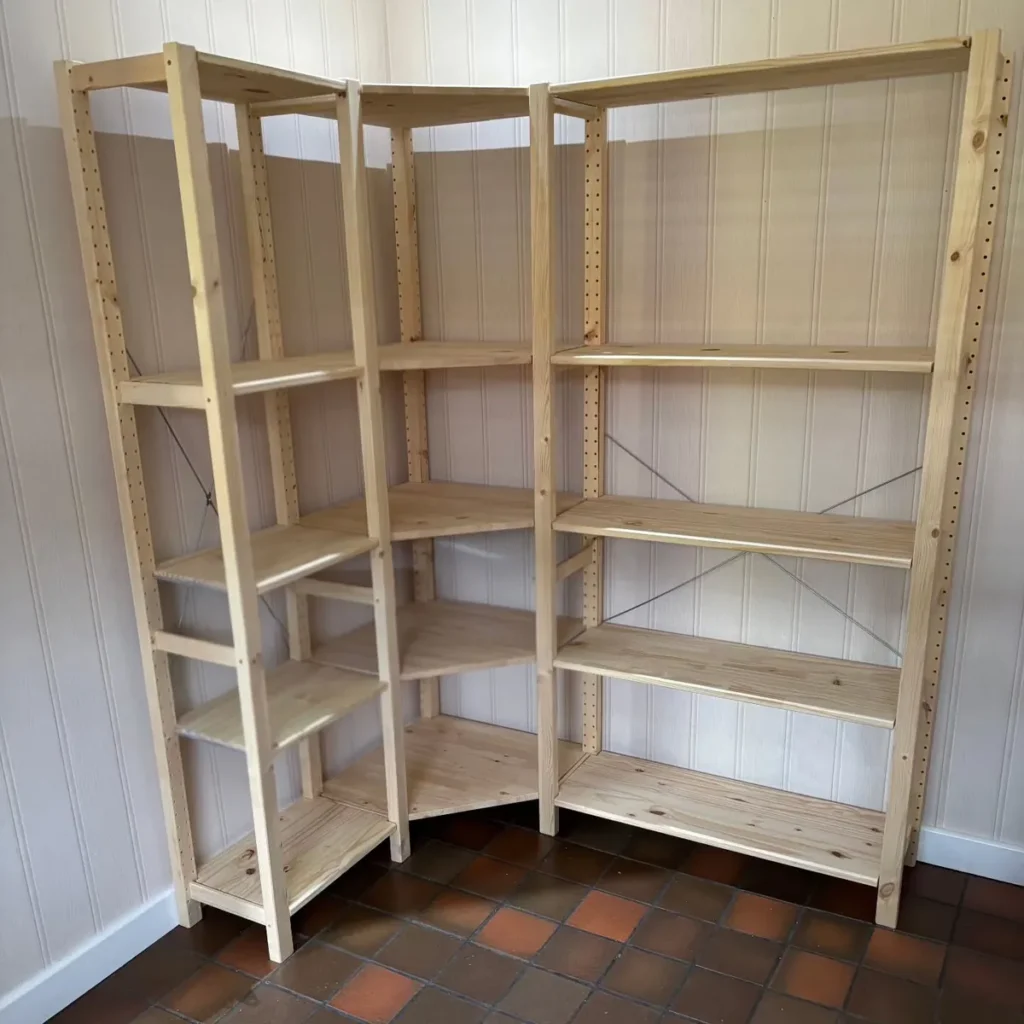
Lining up three or four IVAR units along one wall, then adding trim or molding across the top to connect them visually, is the most popular way to fake a custom built-in bookcase wall for a fraction of the cost.
17. Crown Molding Across the Top to Hide the Gap
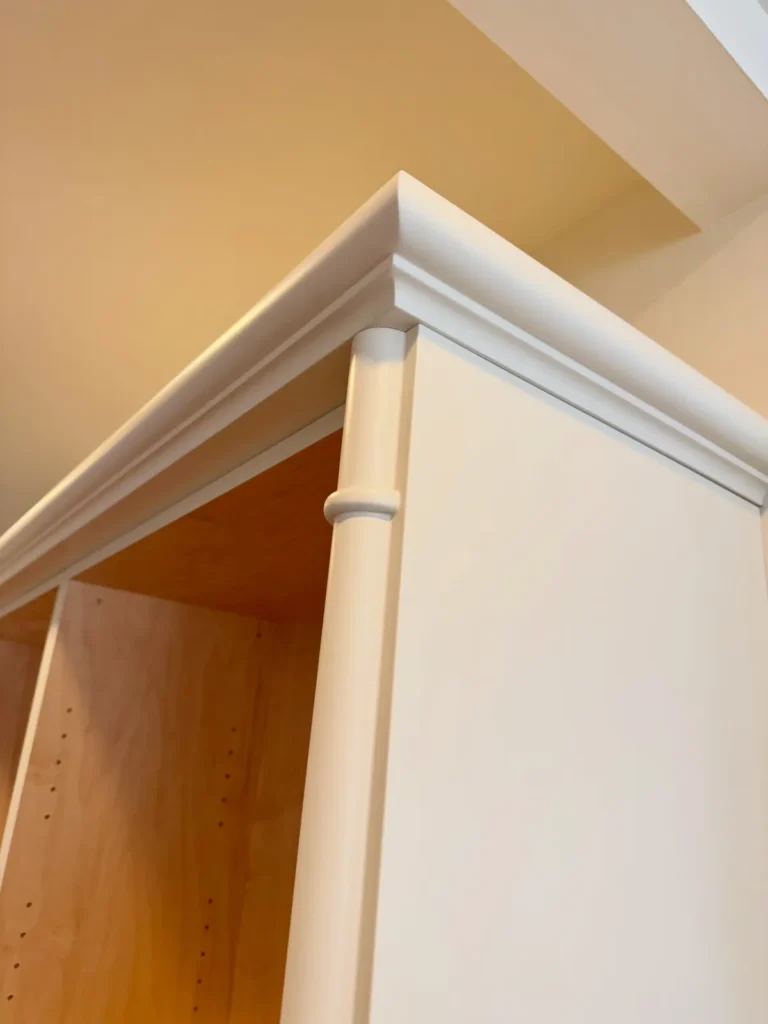
Adding a simple piece of crown or cap molding across the top of a lined-up row of IVAR units hides the visible seams and gives the whole wall a finished, custom-carpentry look.
18. Recessed Into a Wall Nook or Alcove
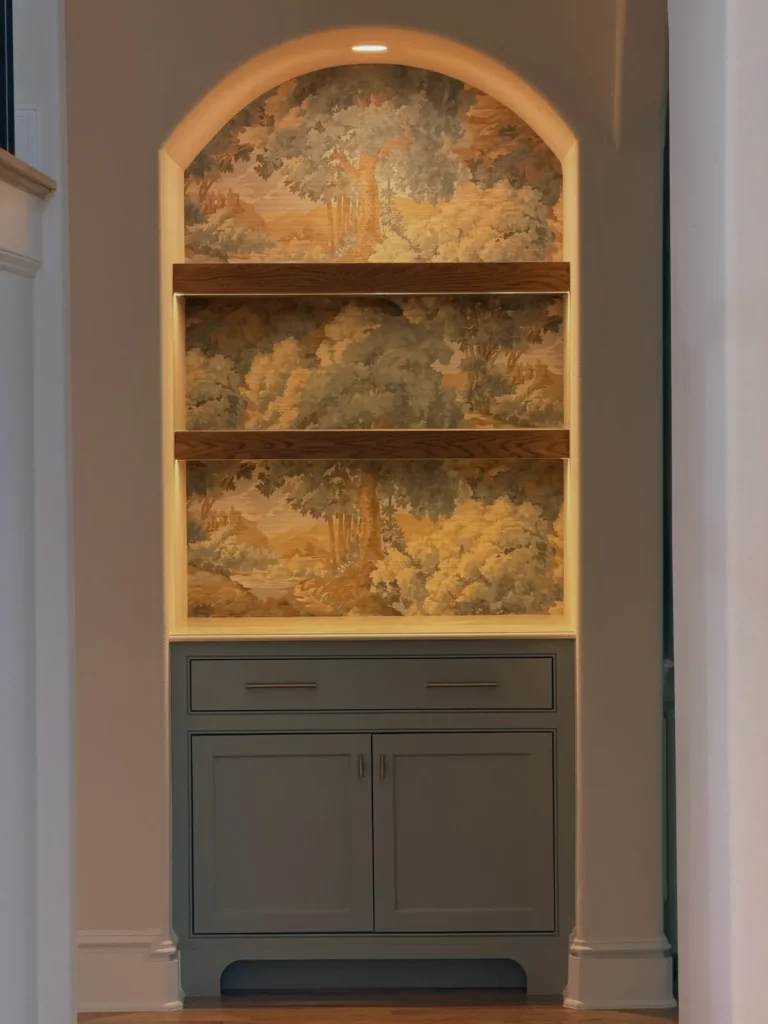
If you have an existing alcove or nook, fitting an IVAR unit (or two side by side) into it makes the shelving look like it was built into the architecture from the start, rather than furniture added later.
19. Wrapped in Beadboard Paneling for a Cottage Feel
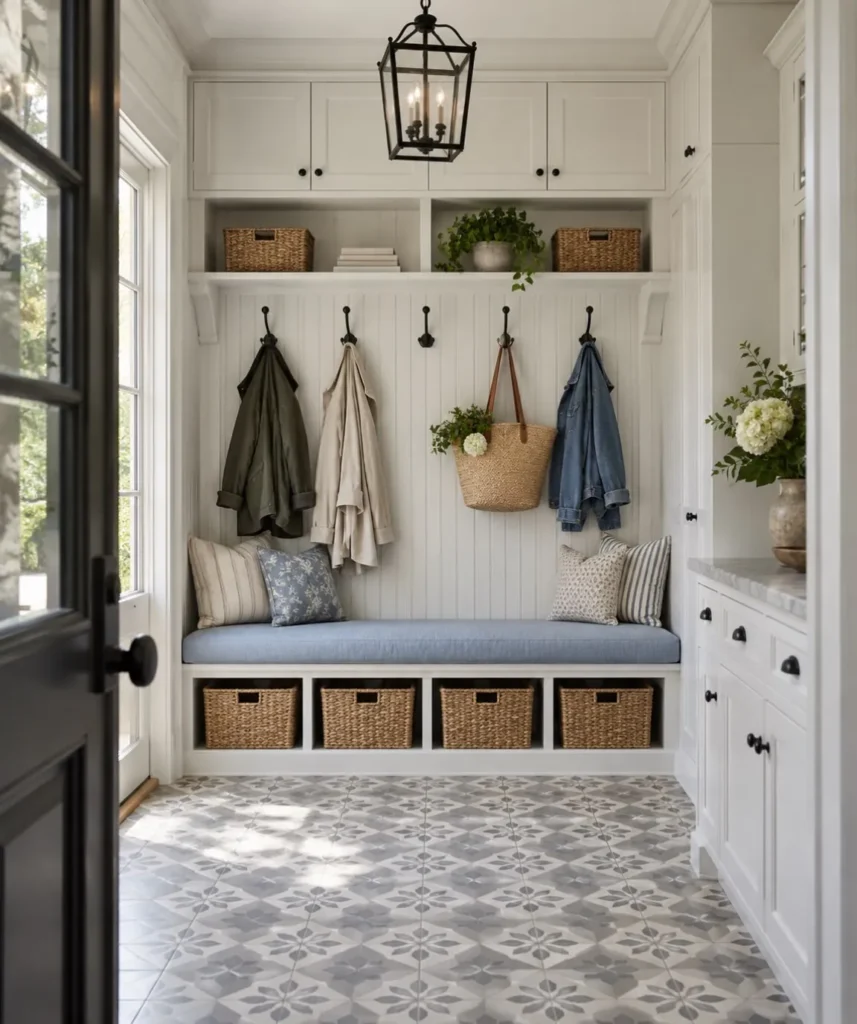
Attaching thin beadboard paneling to the sides and back of an IVAR unit, then painting the whole thing one color, hides the raw pine construction entirely and gives a cottage or coastal built-in look.
20. Anchored Floor-to-Ceiling with a Library Ladder
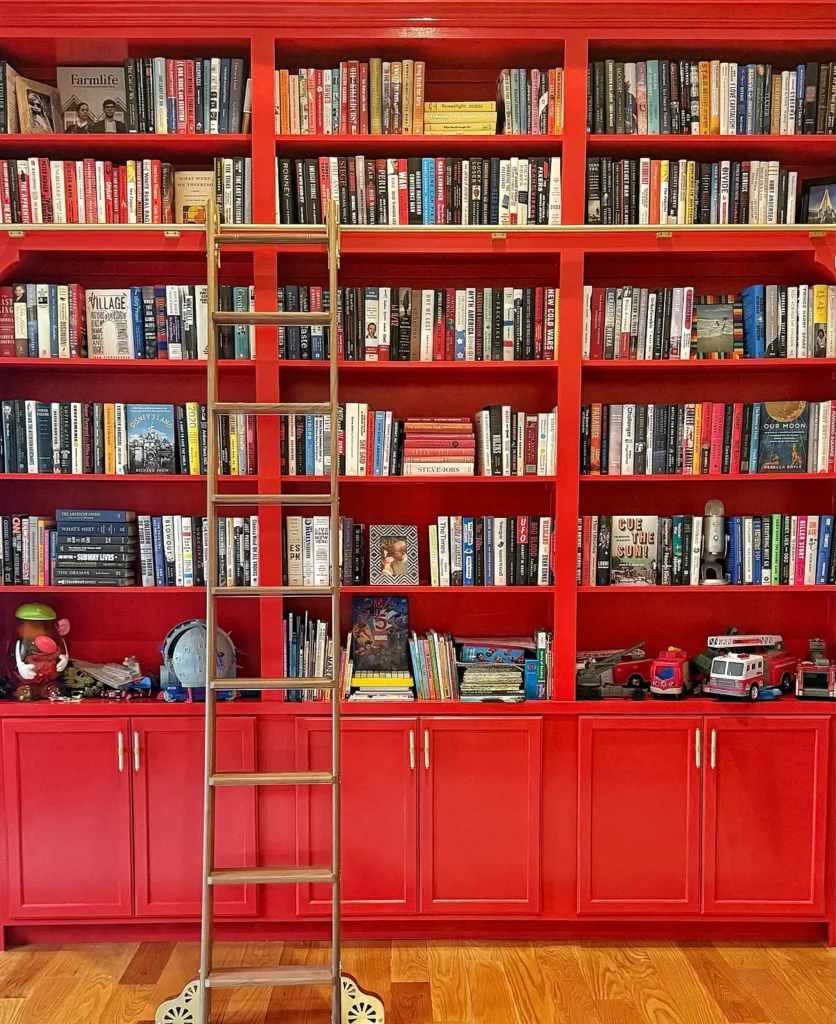
For a tall room, stacking a shorter IVAR unit on top of a taller one and anchoring the whole thing floor-to-ceiling, with a library ladder on a rail, is a genuinely achievable DIY version of a look that usually costs thousands custom-built.
Room-Specific Uses
21. Kitchen Pantry with Labeled Baskets
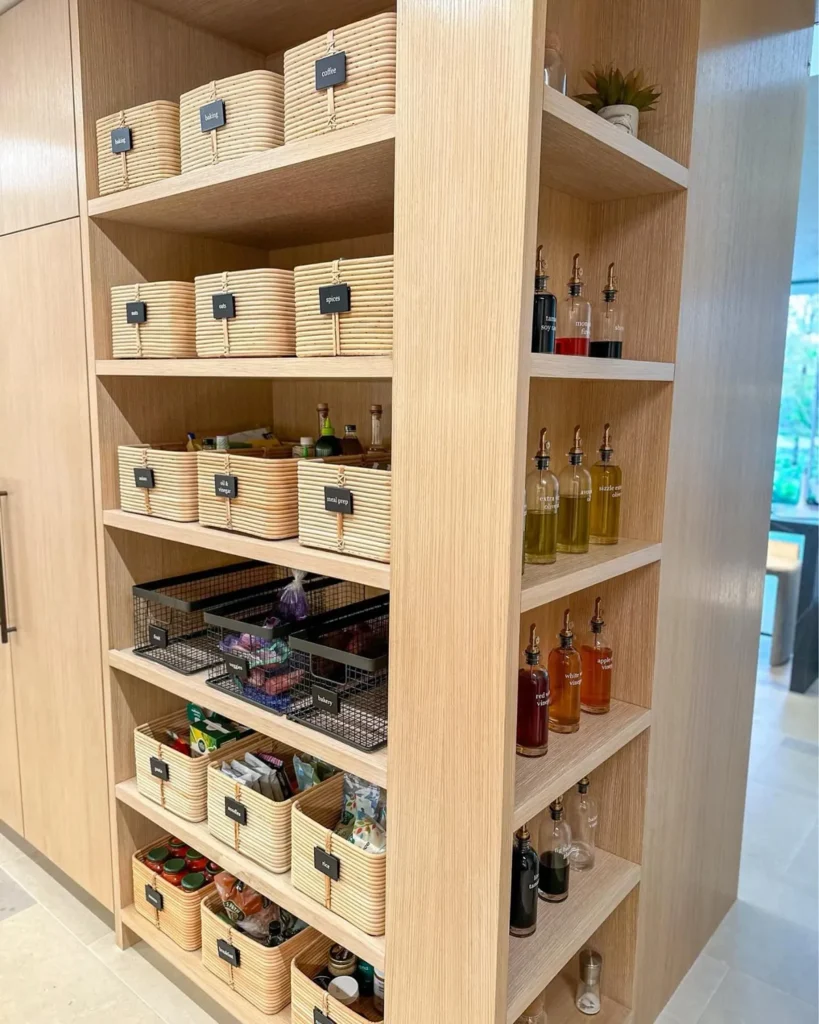
A stained IVAR unit with woven baskets on each shelf, labeled with simple tags, turns a kitchen corner into an open pantry — Nora’s kitchen hack uses glass jars on the top shelves and baskets below for bulkier items.
22. Bathroom Linen Tower
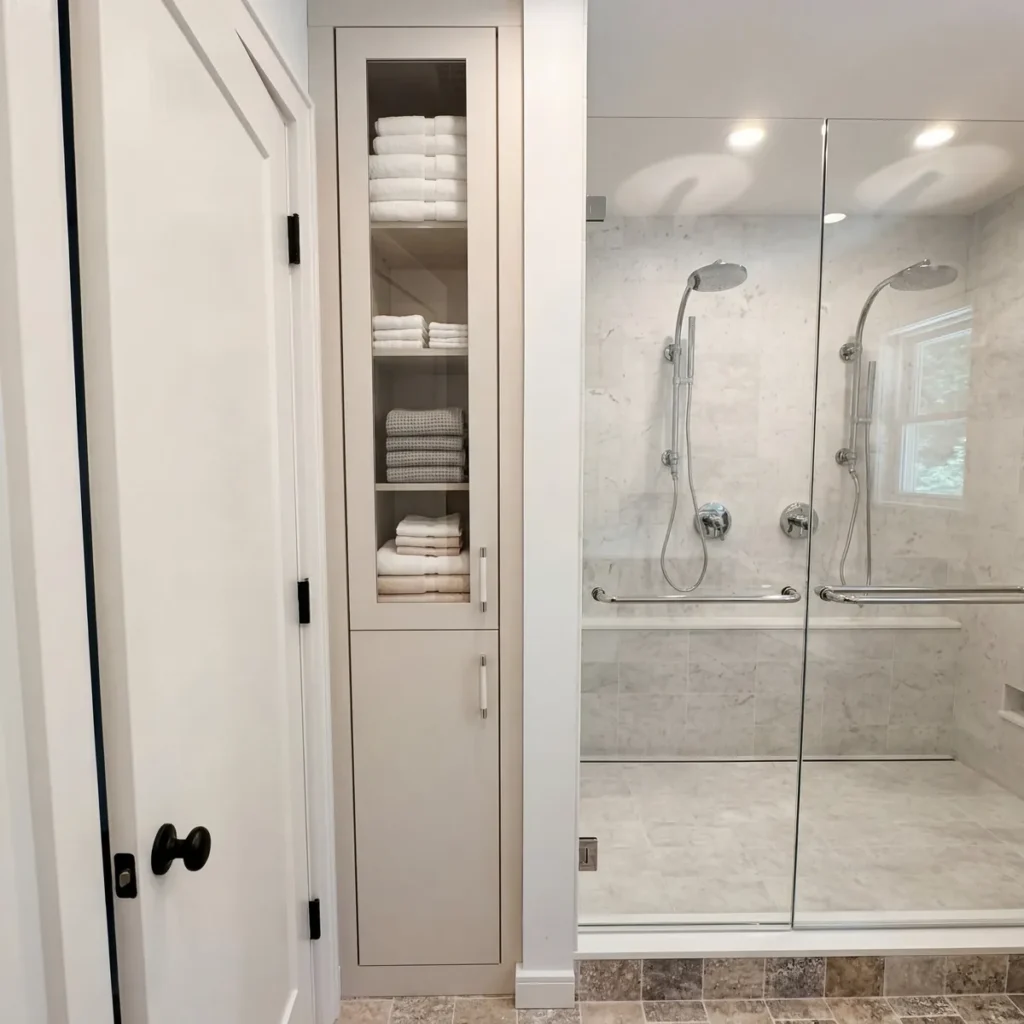
A narrow IVAR unit, sealed with a water-resistant finish, works well as a bathroom linen tower for towels and extra toiletries, especially in a bathroom without a built-in closet.
23. Entryway Drop Zone with Added Hooks
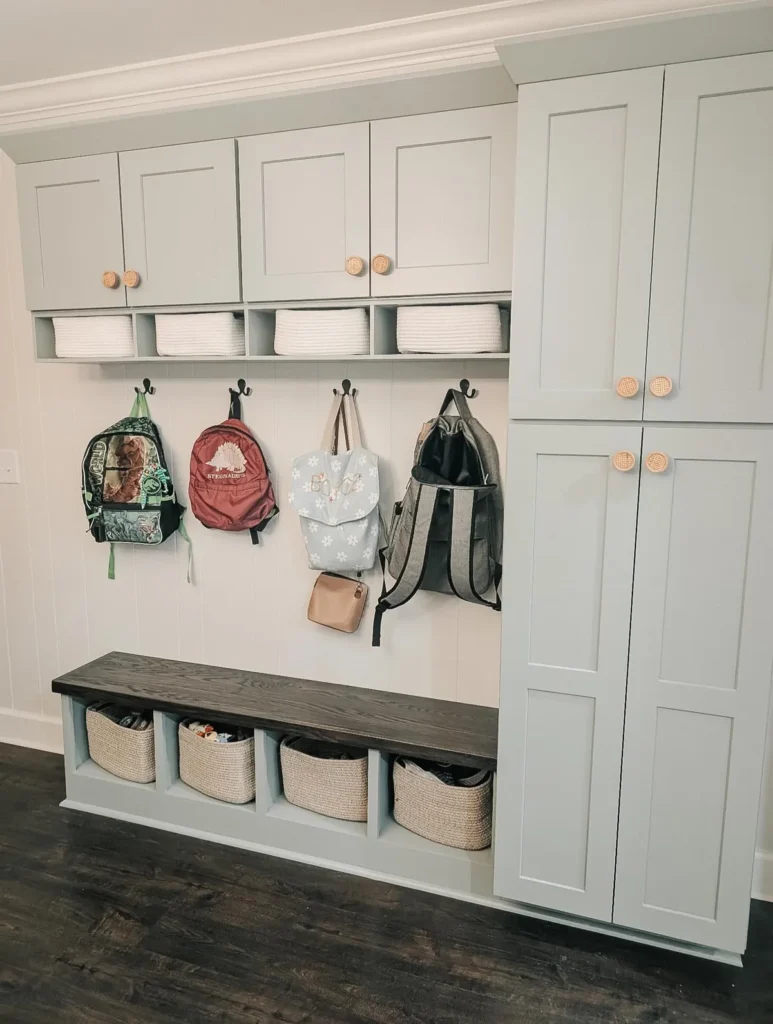
Attaching hooks to the side of an IVAR unit near the entry turns it into a combined storage-and-drop-zone piece — baskets below for shoes, hooks on the side for bags and coats, open shelf up top for keys and mail.
24. Laundry Room Shelving with Fabric Bins
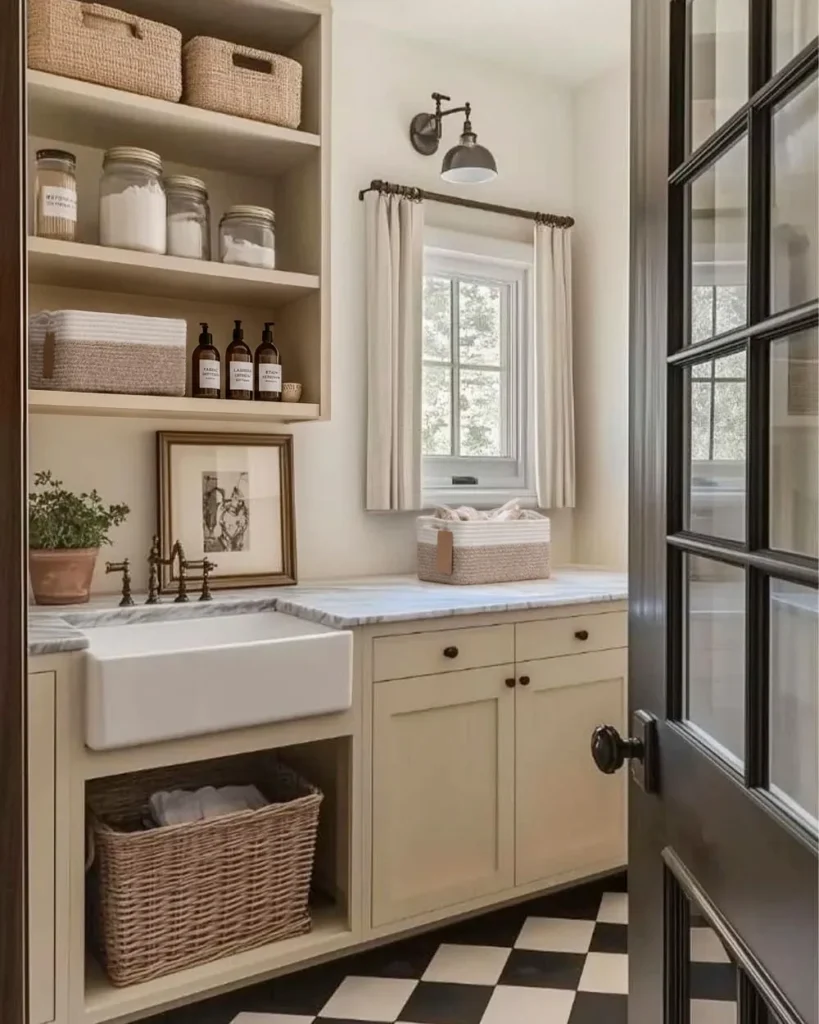
Fabric bins sorted by family member or laundry type, stored on IVAR shelving, is one of the more practical, less “pretty” hacks on this list, but it’s genuinely one of the most-used once it’s in place.
25. Home Office Shelving with Cord Management Built In
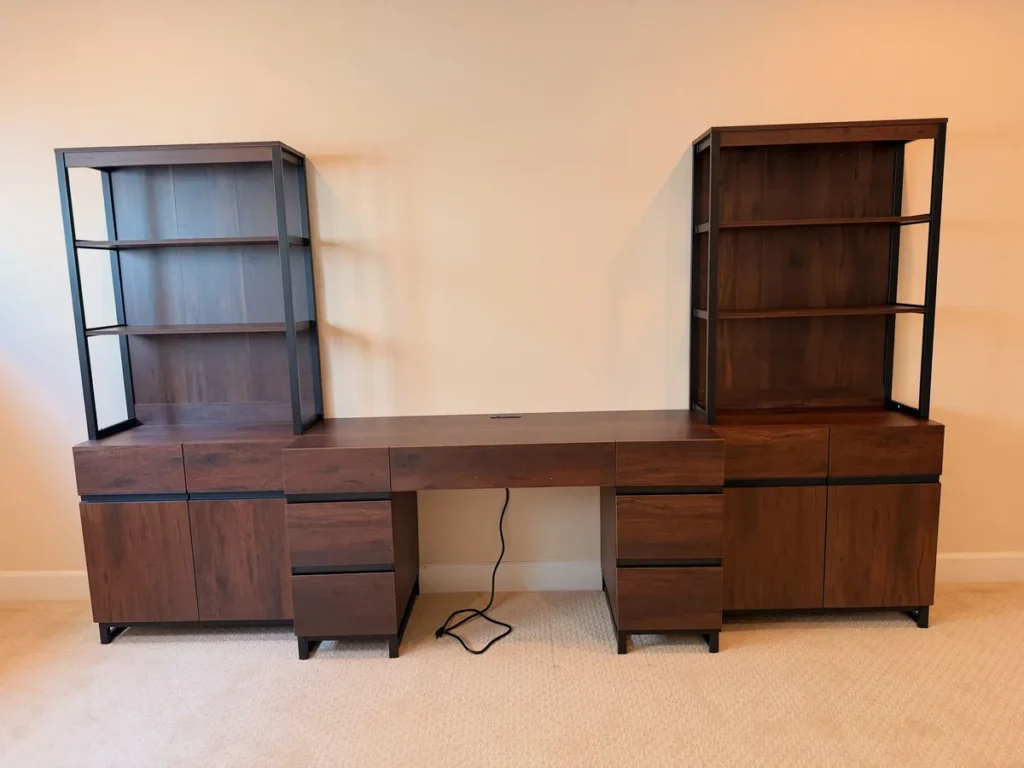
Drilling a small cord-management hole through the back panels of an IVAR unit used as office shelving keeps a printer or charging station tidy without visible cords running across the shelves.
26. Kids’ Room Toy Storage with Low Open Shelves
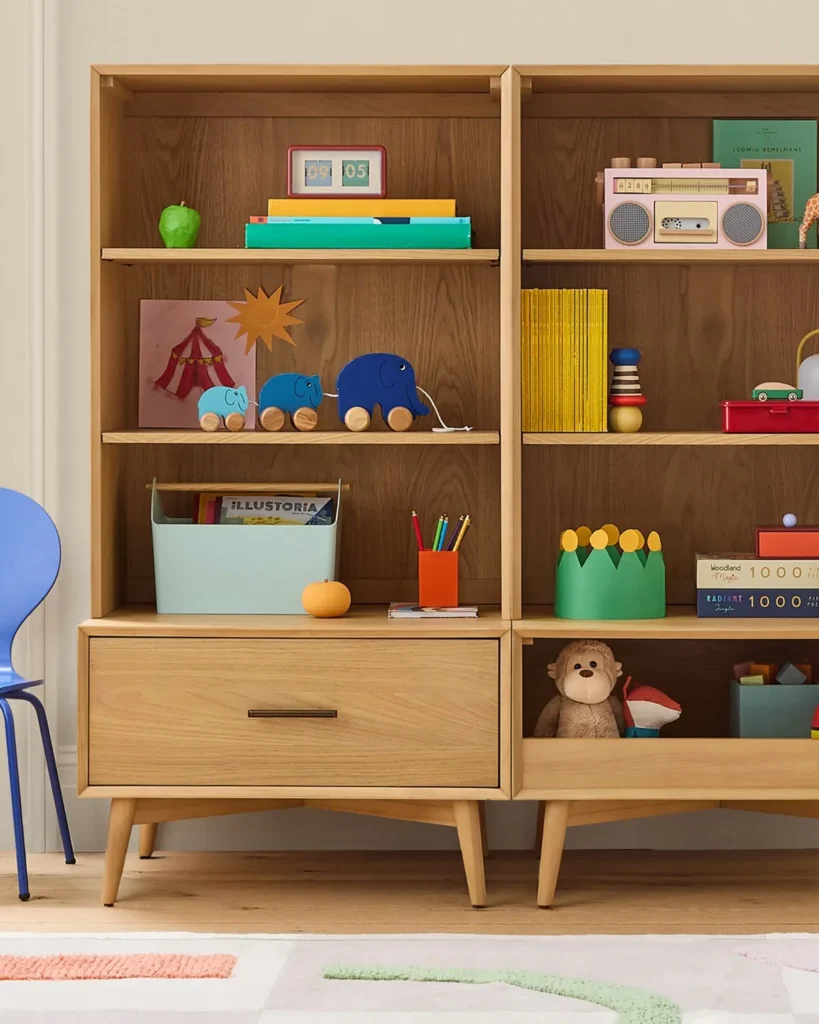
Using only the lower shelves of an IVAR unit (or cutting it down) for toy bins keeps everything at a height kids can actually reach and put away themselves, which solves more cleanup battles than almost any organizational system.
Small-Space & Budget-Friendly Hacks
27. Narrow Vertical Unit for a Tight Corner
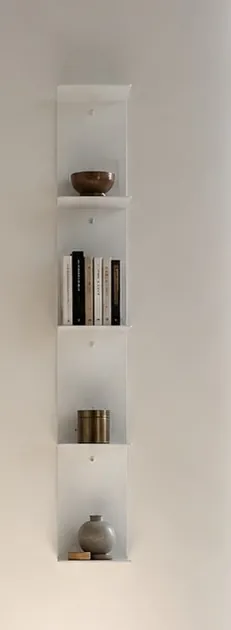
IVAR’s narrowest configuration fits into surprisingly tight corners that most storage furniture can’t, making it one of the better options for a small apartment with awkward unused space.
28. Behind-the-Door Shallow Shelving
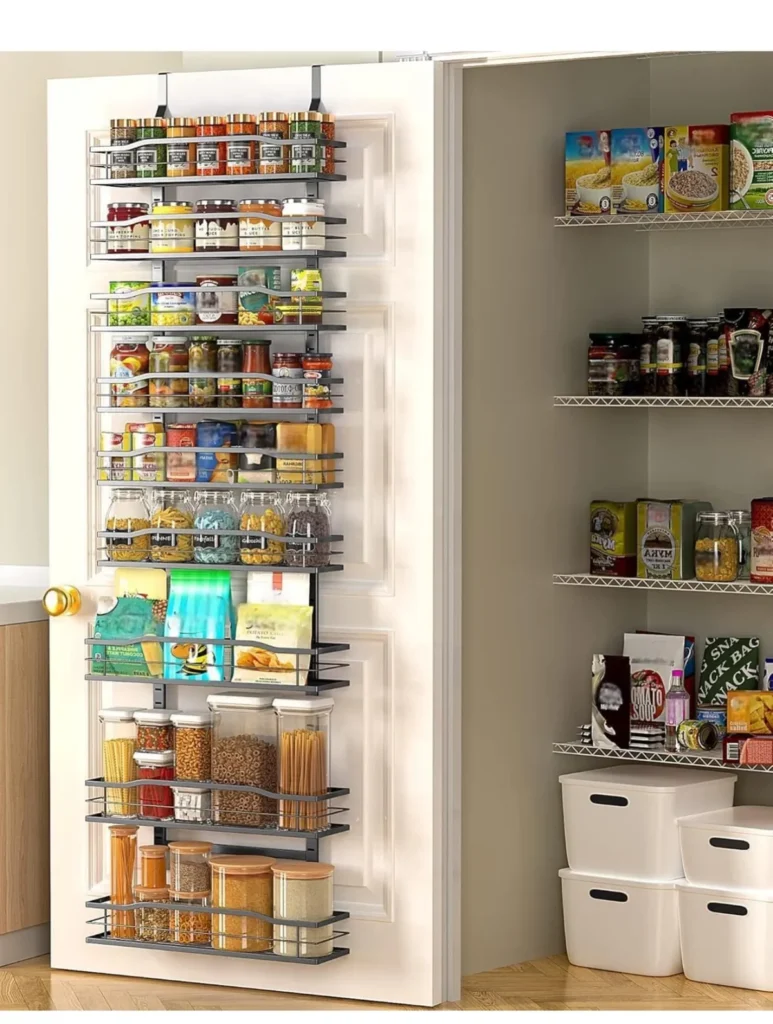
A shallow IVAR configuration mounted on the back of a closet or pantry door adds storage in genuinely wasted space, and it’s one of the cheapest hacks on this whole list to execute.
29. Unstained, Just Sealed, for the Fastest Budget Option
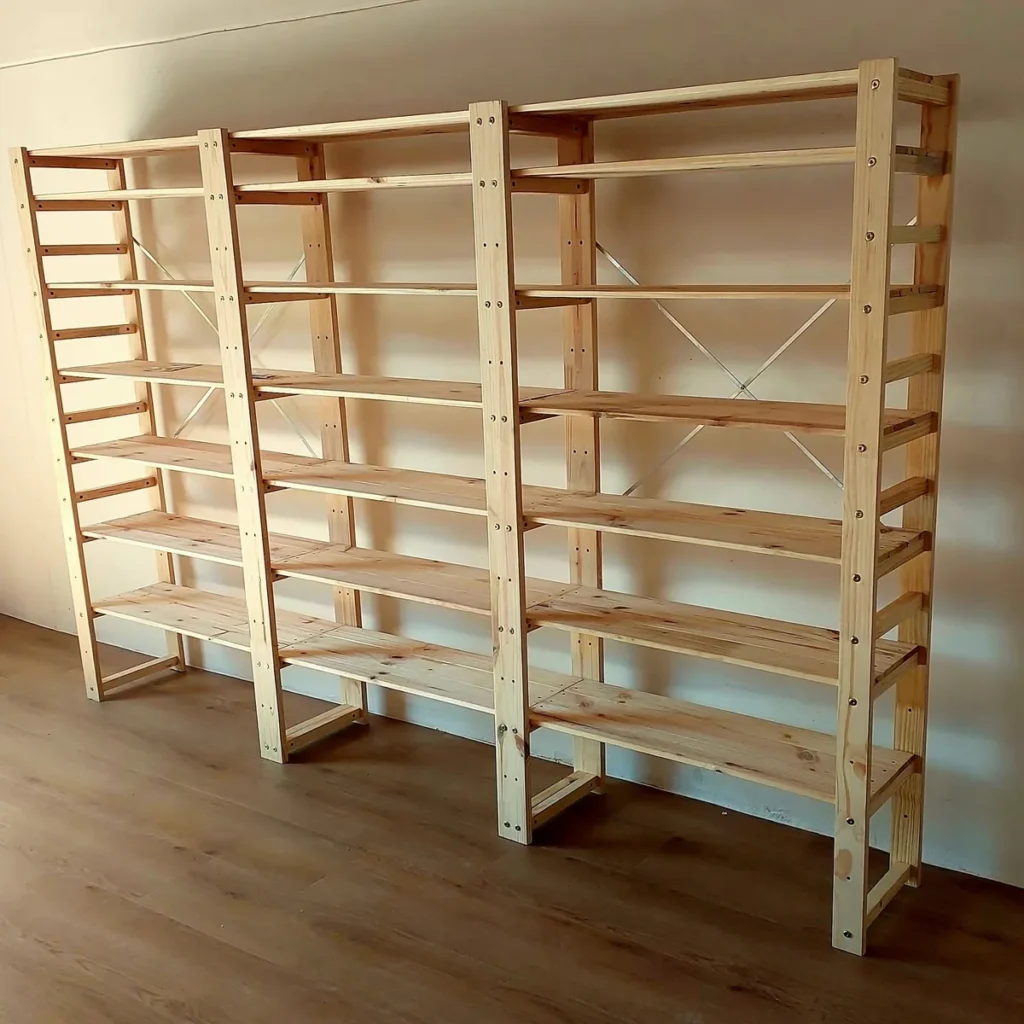
If stain and paint aren’t in the budget or timeline, a clear matte sealant over the raw pine still protects the wood and gives it a slightly richer, less raw look than it has straight off the shelf — Nora’s actual recommendation for anyone doing their very first furniture project.
30. Repurposed as a Room Divider
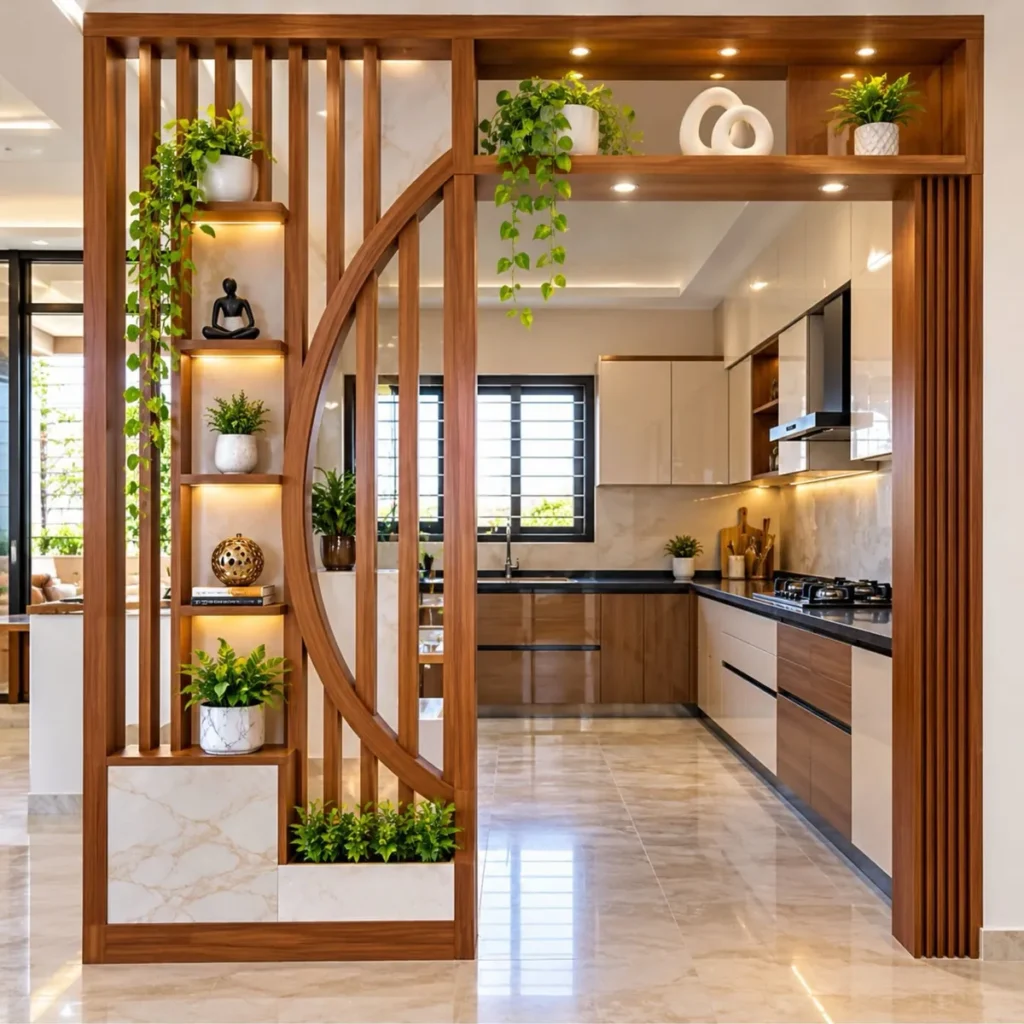
A taller IVAR unit, styled on both sides, works as an open shelving room divider for a studio apartment — it adds storage and visually separates a space without blocking light the way a solid wall would.
Styling the Shelves Once It’s Built
31. The Rule of Three for Open Shelf Styling
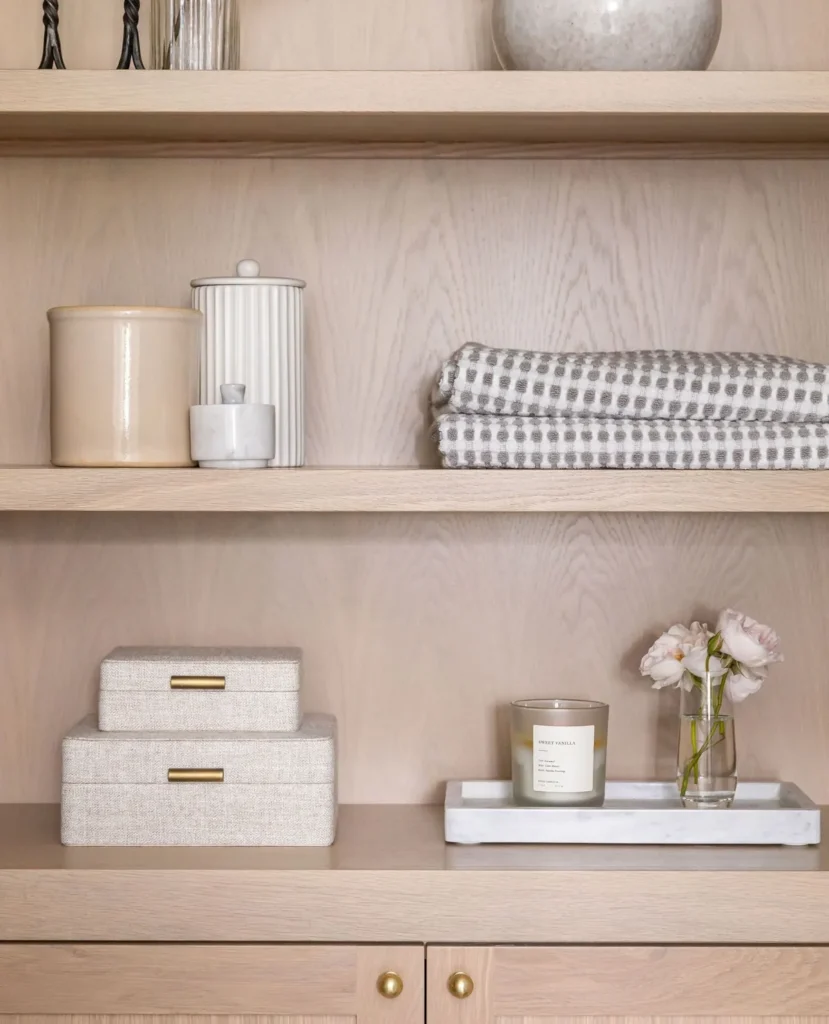
Group objects on open shelves in odd numbers — a stack of books, a small plant, one ceramic piece — rather than lining items up evenly. It’s a simple styling trick that makes even a basic unstained shelf look curated.
32. Mix Open and Closed Storage on the Same Unit
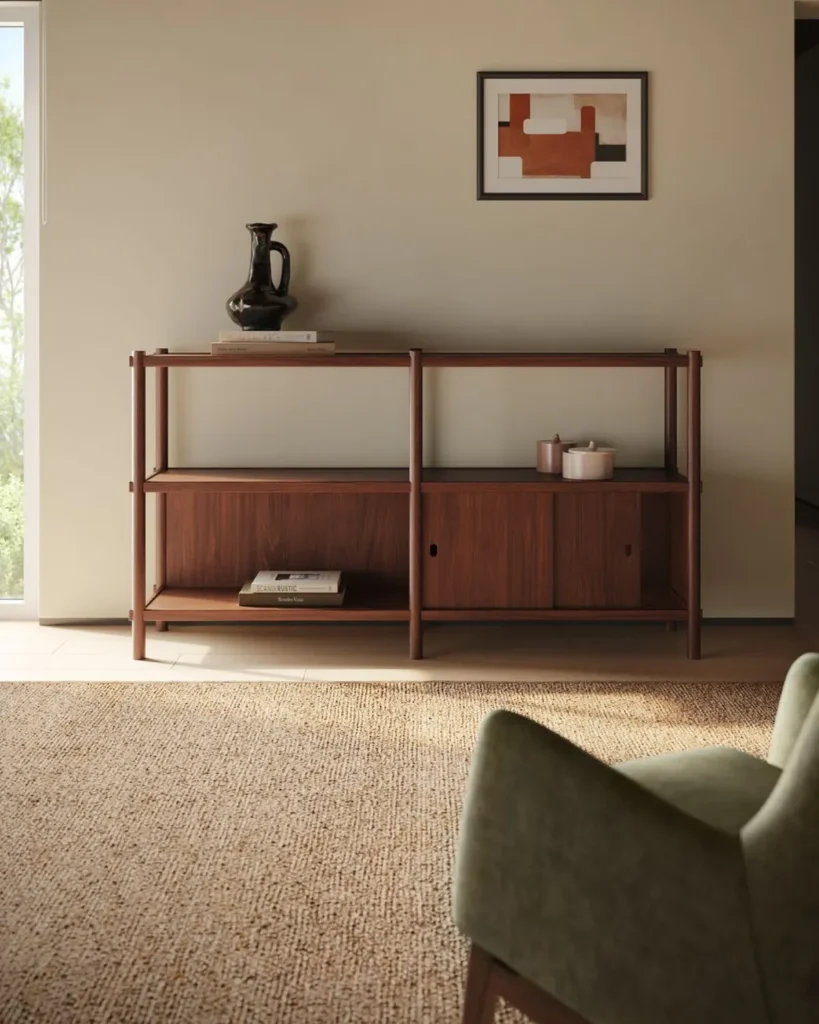
Leave the top shelves open for styled display and add baskets or doors only to the lower shelves. This keeps the “beautiful” part visible at eye level while hiding genuine clutter below, which is the real reason this combination shows up in so many finished IVAR photos online.
Which Finish Fits Your Space?
| Finish Style | Best For | Skill Level | Approx. Cost Added |
|---|---|---|---|
| Stain Only | Mid-century, warm modern rooms | Beginner | $ |
| Paint | Cottage, coastal, bold accent pieces | Beginner | $ |
| Added Doors | Hiding clutter, pantries, entryways | Intermediate | $$ |
| Built-In Wall | Living rooms, home libraries | Advanced | $$-$$$ |
Pro tip: Sand before you stain or paint, even though the pine already looks smooth — IVAR’s raw wood often has a light factory coating that blocks even stain absorption. Nora learned this the hard way on her first unit and ended up with visible blotching she had to sand down and redo.
What I’d Actually Do If I Were Starting Over
If I only had time and budget for one hack, it’s the walnut stain with brass pulls — it works in nearly any room, it’s genuinely beginner-friendly, and it’s the single transformation that makes people stop believing it’s an IVAR shelf at all.
FAQs: IKEA IVAR Hacks
Do I need to sand IVAR before staining it?
Yes — even though the raw pine looks smooth, a light factory coating can cause uneven stain absorption, so a quick sanding pass before staining helps the color go on evenly.
Can IVAR be used as a pantry?
Yes — a sealed or stained IVAR unit with baskets or caned door inserts works well as an open or semi-closed pantry, and a wire mesh door front keeps contents visible for quick checks.
What’s the easiest IVAR hack for a beginner?
A simple wood stain or a matte clear sealant, with no structural changes, is the most beginner-friendly option and still gives the raw pine a noticeably more finished look.
How do you make multiple IVAR units look like one built-in?
Lining the units up side by side and adding a strip of crown or cap molding across the top hides the visible seams and makes the row read as one custom piece rather than separate shelves.
Is IVAR sturdy enough for heavy storage like books?
Yes, the shelves are rated for substantial weight, though it’s worth distributing heavier items like books across more shelves rather than stacking them all on one to avoid excess bowing over time.

Hi, I’m Ashley Miller, a wife, a busy mom, and someone who loves to share all the things that make life a little more fun and beautiful.
From easy DIY projects, delicious recipes, and chic hairstyles to nail ideas and home decor tips, I share everything I’ve learned and love.
My goal is to inspire other women to explore their creativity and make their homes even more special.

