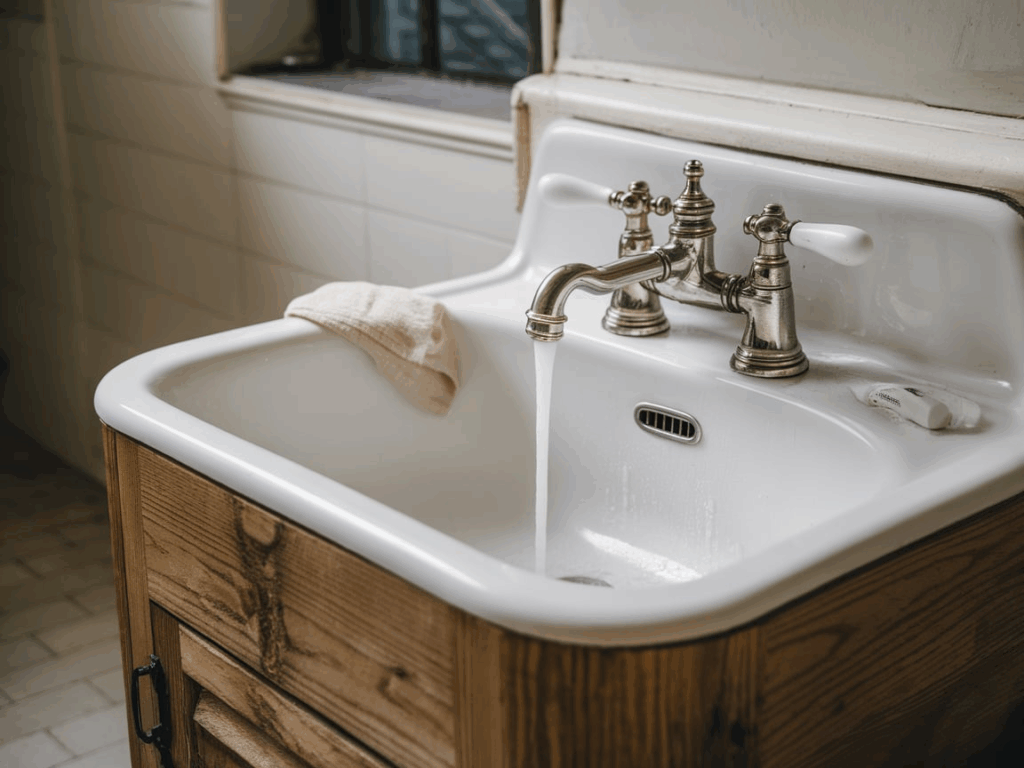
How to Fix a Leaking Bathroom Faucet?

A leaking faucet is annoying. It wastes water. It increases bills. It can damage sinks.
Fixing it saves money. It prevents bigger problems. This guide will help.
It will explain step by step. You can do it yourself. No need for a plumber.
Why Is My Faucet Leaking?
Faucets leak for many reasons. Worn-out washers cause leaks. O-rings get damaged. Valve seats corrode. Seals wear out. Cartridges fail. Identifying the issue is key. The fix depends on the problem. Different faucets have different parts.
Types of Bathroom Faucets
There are four main types. Each has unique parts.
Compression Faucets
These have two handles. Hot and cold water mix separately. They use rubber washers. Washers wear out over time. This causes leaks.
Ball Faucets
These have a single handle. A rotating ball controls water flow. Leaks happen if seals wear out.
Cartridge Faucets
These also have one handle. A cartridge controls water flow. Leaks occur if the cartridge breaks.
Ceramic Disk Faucets
These are durable. They have ceramic disks. Leaks are rare but possible.
Tools Needed
You will need a few tools. Gather them before starting.
- Adjustable wrench
- Screwdriver (flathead or Phillips)
- Replacement parts (washers O-rings cartridges)
- Plumber’s grease
- Towel or rag
- Bucket (for water)
Step-by-Step Fix for a Leaking Faucet
Follow these steps carefully.
Turn Off the Water Supply
Locate the shut-off valves. They are under the sink. Turn them clockwise. If no valves shut off the main supply.
Plug the Drain
Use a towel or stopper. This prevents small parts from falling in.
Remove the Faucet Handle
Find the decorative cap. Pry it off with a screwdriver. Unscrew the handle screw. Lift the handle off.
Inspect the Internal Parts
Check for damage. Look at washers O-rings and cartridges. Identify the faulty part.
Replace the Washer (Compression Faucet)
Remove the valve stem. Take out the old washer. Install a new one. Apply plumber’s grease. Reassemble the faucet.
Replace the O-Ring (Ball or Cartridge Faucet)
Remove the spout. Locate the O-ring. Pull it out. Insert a new one. Lubricate with plumber’s grease.
Replace the Cartridge (Cartridge Faucet)
Pull out the old cartridge. Insert a new one. Ensure it fits snugly. Reattach the handle.
Reassemble the Faucet
Put all parts back. Tighten screws carefully. Do not over-tighten.
Turn the Water Back On
Slowly open the shut-off valves. Check for leaks. If it still leaks repeat the steps.
Common Mistakes to Avoid
- Forgetting to shut off the water
- Over-tightening parts
- Using wrong replacement parts
- Skipping lubrication
- Not testing after repair
When to Call a Plumber
Some leaks are complex. Call a professional if:
- The leak persists after repair
- Pipes are corroded
- Water pressure is low
- You are unsure about the fix
Preventive Maintenance Tips
- Check faucets regularly
- Replace washers every few years
- Avoid harsh chemicals
- Fix small leaks immediately
Final Thoughts
Fixing a leaking faucet is easy. It saves water and money. Follow the steps carefully. Use the right tools. Replace damaged parts. If unsure seek help. A well-maintained faucet lasts longer.
FAQs
1. Why does my faucet drip after turning it off?
Worn-out washers cause this. Replace them to stop the drip.
2. How often should I replace faucet parts?
Every 2-3 years. Check for wear regularly.
3. Can I use any O-ring for my faucet?
No. Use the exact size and type. Check the manufacturer’s guide.
4. Why is my faucet leaking from the base?
Loose parts or damaged O-rings cause this. Tighten or replace them.
5. Is plumber’s grease necessary?
Yes. It prevents friction and extends part life.
Now you know how to fix a leaky faucet. Take action today. Stop the drip. Save water. Enjoy a quiet bathroom again.

Hi, I’m Ashley Miller, a wife, a busy mom, and someone who loves to share all the things that make life a little more fun and beautiful.
From easy DIY projects, delicious recipes, and chic hairstyles to nail ideas and home decor tips, I share everything I’ve learned and love.
My goal is to inspire other women to explore their creativity and make their homes even more special.